Can’t find your .env or docker-compose files? Don’t see a .git directory? Most likely these items are hidden on your macOS. Read below to show hidden files and directories on your macOS.
Apple macOS just like any OS has certain libraries and directories hidden away from view, often for a good reason, since deleting, modifying, or moving them could seriously impair the Operating System’s performance. Nonetheless for most developers having access to hidden files is necessary. This is how to find a missing .env or a .docker-compose
Apple offers several ways to enable display of the hidden files on macOS.
Showing hidden files via Mac Finder
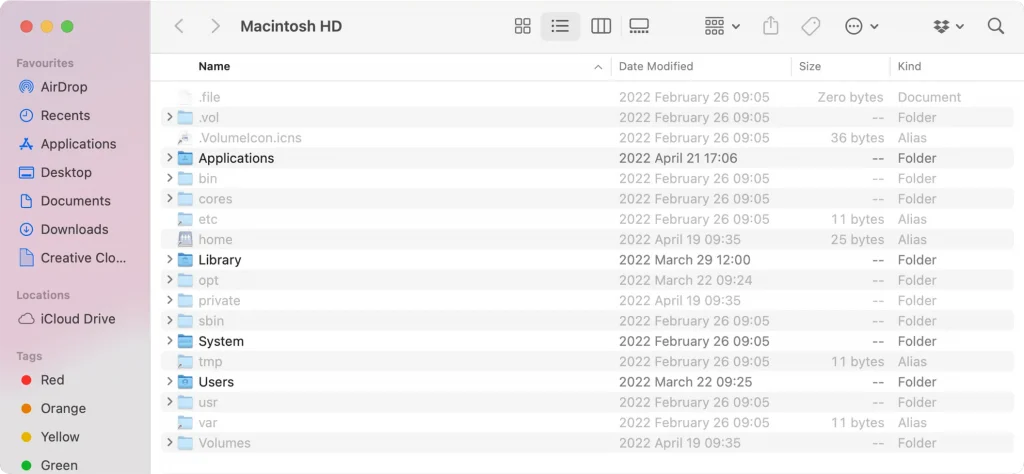
Important: For the method described below to work make sure you’re using the list view.
The first and easiest method is using Mac Finder to show hidden files:
- Open the folder where you want to search for hidden files.
- Press the “Command” + “Shift” + “.” (period) keys at the same time.
- The hidden files will show up as translucent in the folder.
- If you want to obscure the files again, press the same “Command” + “Shift” + “.” (period) combination.
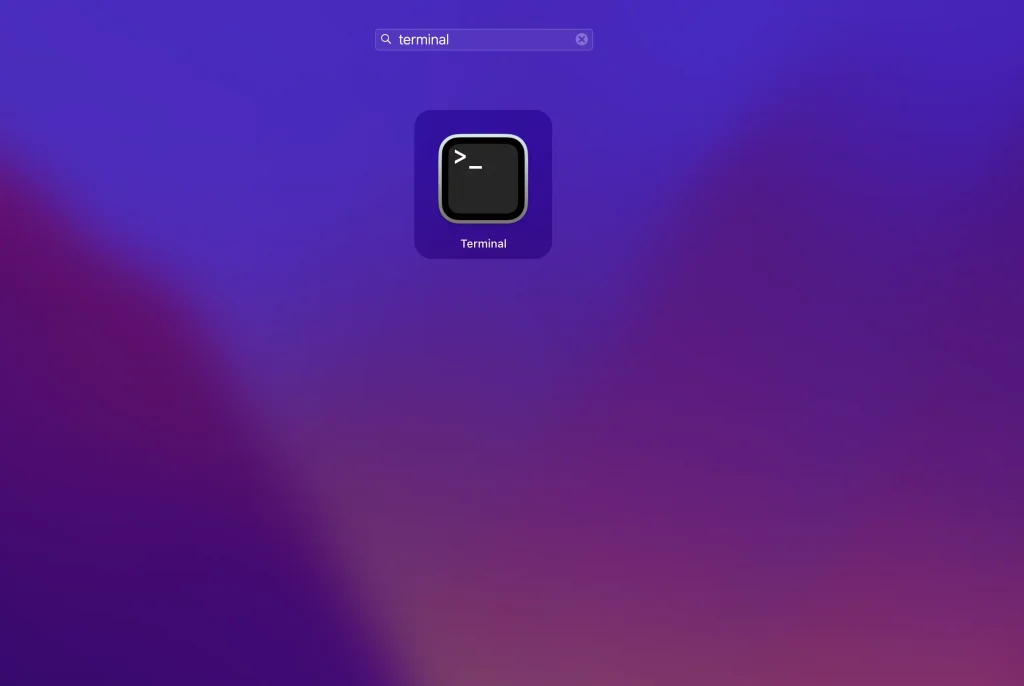
Show hidden files using macOS terminal
- Open Terminal “Terminal” (by typing terminal in the “Spotlight” or by clicking on Go in the menu bar, selecting “Applications,” scrolling down to “Utilities,” expanding the folder, and clicking on “Terminal.”
- Type in “defaults write com.apple.Finder AppleShowAllFiles true” and press “Enter.”
- Type in “killall Finder” and press “Enter” again (this command quits the finder app).
Once you run the script, the hidden files should show up in Finder. To reverse and hide the files again follow these steps:
- Open Terminal.
- Type in “defaults write com.apple.Finder AppleShowAllFiles false” and press “Enter.”
- Type in “killall Finder” and press “Enter” again.
One can also use Terminal to hide specific files. To obscure something from view on your Mac, follow these steps:
- Open Terminal.
- Type in “chflags hidden.”
- Drag the files you want to hide into the Terminal window.
- Press “Enter” to hide the files.
That’s it! Now you can tinker with the files as you see fit.
Copyright notice: Featured image provided by storyset on Freepik